Key Highlights
- DTF transfers let you put cool designs on all sorts of fabrics like cotton, polyester, and blends.
- Pre-pressing gets rid of moisture so the design sticks well and the colors don't bleed.
- The adhesive powder makes sure the prints last a long time without fading.
- Curing turns the powder into a super-strong glue that really holds on tight.
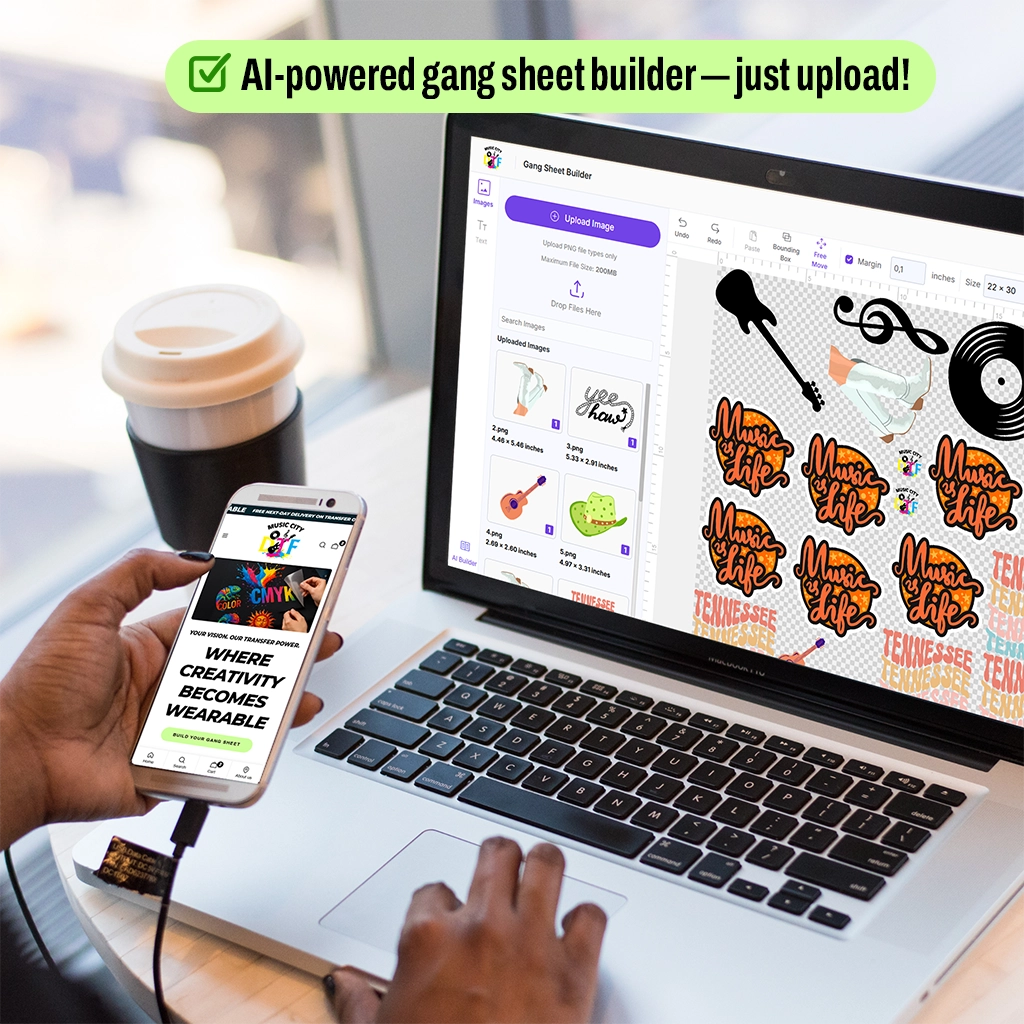
- Gang sheets help you print multiple designs at once, saving you money and making it easier to do big orders.
The Direct-to-Film (DTF) printing technology revolutionizes custom apparel through its ability to produce bright, long-lasting, and adaptable transfer prints. DTF transfer process allows complete color printing with smooth color transitions and sharp image details on multiple types of fabrics, distinguishing it from traditional heat transfer vinyl and screen printing methods.
If you are a business or a hobbyist, you’d benefit from enhanced efficiency and decreased expenses, especially when using gang sheets, to produce bulk items without interruptions. This blog looks into DTF transfer step by step to help you ensure that each design is press-ready for optimal results, so you can make more and scale faster.
Step 1 – Preparing the Artwork
High-resolution files (300 DPI) are crucial for sharp details and smooth gradients. Conversion to CMYK ensures accurate ink color reproduction, while pretreatment in DTF printing ensures colors remain vibrant. White underbase separation and ICC color profiles prevent dull prints and save time during the DTF printing process, creating uniform results across all transfers.
Step 2 – Printing on PET Film
The artwork is printed directly onto PET film with CMYK inks and a white underbase. This step guarantees design clarity during printing. Using DTF printing process guide strategies, gang sheets maximize efficiency by printing multiple designs at once, reducing material waste while maintaining high-quality results.
Step 3 – Applying Adhesive Powder
Adhesive powder is applied to the wet ink layer, forming a bonding layer activated through heat. Proper application thickness is crucial for DTF prints finishing to prevent peeling, cracking, and fading. Careful handling of gang sheets ensures quality designs while supporting efficient batch production.
Step 4 – Curing the Powder
Curing transforms adhesive powder into a heat-activated layer. Following the DTF curing technique guide ensures uniform melting without damaging the ink. Over-curing weakens colors, under-curing reduces adhesion, but proper curing protects design integrity through multiple washes.
Step 5 – Pre-Pressing the Garment
Pre-pressing removes wrinkles and moisture to create a smooth surface for transfers. This DTF pre-press steps phase prevents dye migration on polyester and blends, improving adhesion. Typically, 3–5 seconds at medium heat and pressure ensures optimal transfer results.
Step 6 – Heat Press Application
Place the transfer on the fabric with the printed side down, using parchment or protective sheets. Apply medium pressure at specified temperatures: 280°F–300°F for polyester blends and 290°F–305°F for cotton/poly blends. Following recommended DTF heat settings ensures full bonding and protects prints from peeling or fading.
Step 7 – Peeling the Film
Peel either warm or cold, depending on transfer type and fabric. Warm peel maintains adhesive stability while cold peel prevents fabric damage. Using the correct method guarantees smooth, bright outcomes and consistent results across multiple prints, a key tip in how to heat press DTF transfers.
Step 8 – Post-Pressing (Optional Second Press)
A second press improves durability and wash resistance. Apply lower pressure for 5–7 seconds. This optional step is recommended for industrial clothing and large orders, enhancing strength while maintaining vibrant, professional prints. Prepping garments for DTF before post-pressing ensures maximal adhesion.
Conclusion
DTF transfers combine modern printing with heat-activated adhesives for bright, durable designs. Mastery of the full DTF transfer process from artwork to heat pressing ensures professional-quality results. Bulk printing is cost-effective with gang sheets, improving operational efficiency. Explore the gang sheet builder to streamline your workflow and maximize productivity.
Want to get started? Try our Free DTF Sample Pack and Gang Sheet Builder.
FAQs
1. Why do DTF prints sometimes appear dull?
Dull prints result from low-resolution artwork, insufficient white underbase, or improper ICC profiles. Following the DTF transfer for beginners guidance ensures correct preparation for vibrant, professional outcomes.
2. How does fabric material affect DTF print brightness?
Fabric type impacts light reflection and color display. Smooth, tightly woven fabrics yield better brightness, while synthetic textures may alter shade. Understanding DTF transfer step by step helps optimize results on any fabric.
3. What is the role of the white underbase in DTF printing?
White underbase ensures CMYK inks print correctly, preserving brightness on dark fabrics and preventing fading. Proper white base application is essential in DTF prints finishing.
4. How does curing impact DTF print durability?
Curing converts powder into a heat-activated adhesive, providing strong adhesion and longevity. Refer to curing DTF inks explained for techniques that avoid over- or under-curing.
5. Can resolution affect the quality of DTF prints?
Yes. Artwork should be 300 DPI for sharp edges and smooth gradients. Low resolution causes pixelation and uneven colors. Learning the DTF printing process guide ensures prints meet professional standards.
6. Does heat press pressure matter?
Medium pressure ensures proper adhesive bonding without distorting ink. Excessive pressure causes ink distortion, while too little reduces adhesion. Follow recommended DTF heat settings for consistent results.
7. How do gang sheets improve efficiency?
Gang sheets allow multiple designs on one sheet, reducing material waste and labor. Using DTF pre-press steps with gang sheets maximizes speed and lowers production costs.
8. Should I pre-press garments?
Yes. Pre-pressing removes moisture and wrinkles, ensuring proper adhesion and preventing dye migration. Prepping garments for DTF before pressing is key for professional-quality transfers.
9. When should I do a second press?
Second pressing enhances durability and washability. Apply for 5–7 seconds at lower pressure. Following DTF transfer step by step ensures optimal results for large or industrial orders.
10. Can DTF transfers be used on polyester blends?
Yes. Pre-press, heat press, and proper peeling ensure adhesive stability. Correct technique maintains color brightness and longevity for blends. Just make sure to use manufacturers guidelines.