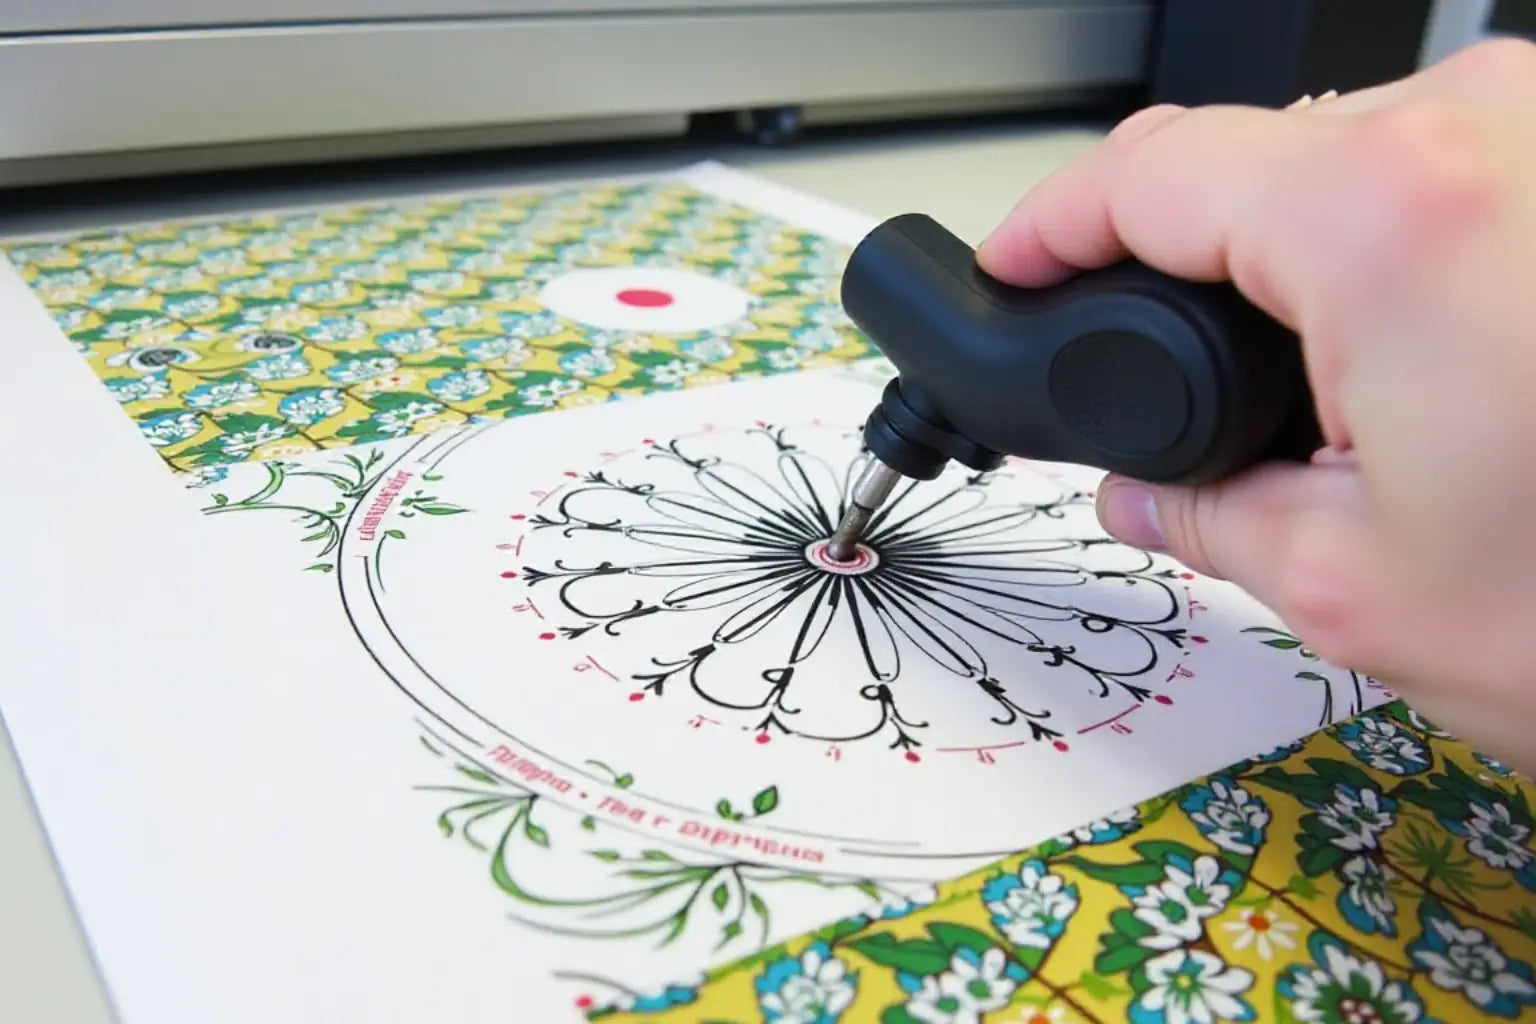
Direct-to-film (DTF) printing produces strong, vivid results, but only if everything is done right. Success demands more than just nice equipment or basic know-how. Every step counts, from the moment you prepare your printer to the final heat press. DTF printing mistakes, such as poor prints and excessive waste, may result from errors in software installation, print environment, film handling, curing, and even the pressing approach. Often, beginners jump in without appreciating the importance of details such as temperature, humidity, and regular maintenance.
And experienced professionals sometimes overlook how quality is affected by changes in their workspace or workflow. Highlighting the most typical errors and how to prevent them—including DTF powder curing issues, DTF transfer errors, and DTF print not sticking—this post guides you through every stage of the DTF process, before, during, and after setup. Knowing what to look for helps ensure your production is smooth and your results are always professional, whether you're launching a new business or adjusting your existing processes. So let’s dive in!
DTF Printing Mistakes Before Setup: Controlling the Environment
Poor Environmental Control
How to prevent DTF transfer mistakes every time? Start with your environment. The DTF process starts way before you hit “print.” It begins in your workstation. If the room is chilly, the prints become all warped and uneven. If the humidity is high, the adhesive powder becomes clumpy, making it challenging to apply. Stable temperatures and humidity prevent problems before they even start. Even the fanciest gear can’t save you from an unoptimized workspace, so treat your room like it’s part of the squad—it’s more important than any other aspect of the process.
Poor Film Storage
Film is your blank slate, and if you store it wrong, you have failed before you even get started. Remember to stack it flat and keep it in a cool, dry place—away from sunlight, vents, and humidity. Warped or curled film can jam up your printer and mess with the ink. Doesn’t matter if your printer’s dialed in—bad film ruins everything. Additionally, add dates to your film packs and use the oldest items first. Maintain your film as much as your printer, because without it, even the most brilliant artwork won’t save your final output.
Mistakes During Setup: Preparing to Print
Incorrect Print Settings
Once your room’s environment is sorted, focus on your software. One wrong RIP tweak—bad resolution, lame color, too much or too little white ink—and your prints will come out inconsistent: fuzzy, dull, or barely there. Forget the default settings—test stuff for your specific inks, film, and shirts. Calibrate, take notes, tweak again. Yes, it takes some time, but if you want colors to pop on your shirts and details to stay sharp, you have to configure the setup from the start. Best practices for DTF transfer printing always begin with the correct settings. Great prints aren’t lucky—they’re a result of accuracy and consistency throughout the process.
Neglecting Printer Maintenance
Clogged nozzles, dusty caps, and dried-up ink—any of these issues can bring your printing to a halt. Make nozzle checks and cleanings a daily thing, and don’t skip scheduled flushes. Little cleaning habits will save you money and headaches. DTF printer maintenance tips are essential for achieving consistent quality and minimizing frustration. And they are not some hard and fast rules, simply maintain your printer every week to find little issues before they become significant problems.
Mistakes After Setup: Printing, Curing, and Pressing
Improper Curing Technique
Curing’s where you lock that print in, and honestly, it’s where a ton of DTF enthusiasts mess up. If your powder is under-cured, the design will peel. Go too far, and it’ll be stiff or crack. Therefore, ensure you use an infrared thermometer to verify that your oven is set to 320°F. No guessing. Consistent heat and airflow are everything. How to fix peeling DTF transfers often comes down to proper curing.
Peeling and Transfer Mistakes
Even when prints look fine out of the oven, they can fail during pressing or after washing. What causes DTF prints to peel off usually boils down to pressure issues, bad timing, or surface contamination. To fix this, there are a few heat press mistakes to avoid, including uneven pressure, too low temperature, or skipping the post-press step. These little oversights are the ones that’ll haunt your final product.
Smart Workflow Habits
Following DTF printing do’s and don’ts keeps your workflow streamlined and your results as expected. Regardless of the number of shirts you are printing —ten or a hundred —having a checklist and monitoring variables ensures you don’t waste time or supplies. How to get clean results with DTF transfers isn’t magic—it’s about discipline and repeating what works. Document what settings work and stick with them.
Why Choose Music City DTF
From initial setup to the last press, Music City DTF helps streamline your entire printing process. To help you prevent expensive errors, we provide excellent inks, films, powders, and expert guidance. We are here to help you get it right the first time, every time, with quick delivery, dependable products, and a team that knows the whole DTF process.
Final Thoughts
Success in DTF printing is built on consistency, care, and attention to each step—from setup to the final press. Avoiding these common DTF printing mistakes helps you produce better work, save materials, and reduce stress. Stay informed, be proactive, and partner with the right suppliers. With the right approach, every print can reflect your skill and professionalism, helping you attract more customers.
Ready to work on your first print? Try our DTF Sample Pack and see how our DTF transfers look on your merchandise before you make a bulk purchase.


