If you want a design to stay on glass without chipping, peeling, or bubbling after a week, you need to understand why glass rejects most prints. UV DTF transfers on glass are different from regular vinyl because they use UV-cured ink printed onto a carrier film that bonds with a strong adhesive layer.
In simple terms, UV DTF is a method where ink is cured instantly with ultraviolet light, creating a raised, scratch-resistant sticker that transfers as one solid piece. Glass fails when it's dirty, cold, or coated with invisible residue. This guide fixes all of that. You're going to learn exactly how to prep, apply, and seal so your designs on tumblers, bottles, and windows look factory-made.
And if your last transfer lifted at the edges, it wasn't bad luck. It was prep.
12 Pro Tips for Better Adhesion and Long-Lasting Durability With UV DTF Transfers on Glass
1. Clean the Glass Like Your Print Depends on It
It does. Glass looks clean even when it's covered in a thin layer of oil from your hands, manufacturing, and shipping. Isopropyl alcohol at 90% or higher is the standard. Wipe it down twice with a lint-free cloth, not paper towels.
The second wipe should come away completely dry with no streaks. If you see rainbow haze, you still have residue. For UV DTF glass projects, this step alone prevents about 70% of adhesion failures. Don't skip it because you're in a hurry.
2. Never Apply on a Cold Surface
Cold glass kills stick. When glass is below 65°F, the adhesive layer doesn't flow into the micro-texture of the surface. Warm the glass slightly to room temperature, around 70-75°F.
A quick way is to let it sit indoors for 30 minutes before application. For UV DTF stickers on glass that go on storefront windows in winter, use a heat gun on low 12 inches away for 10 seconds. You're warming, not cooking.
3. Scrape Your Way to a Bubble-Free Bond
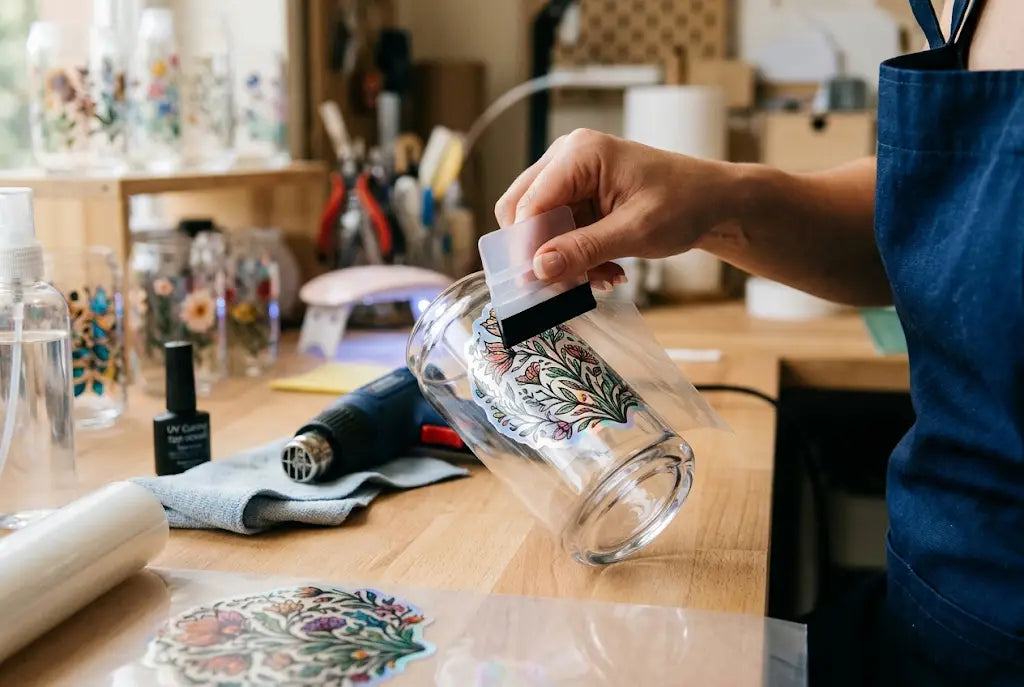
You need pressure. Real pressure. After you position your UV DTF transfers on glass, use a felt-edge squeegee and work from the center out with firm, overlapping strokes.
Most people press too lightly because they’re scared of cracking the glass. Glass can take it. The goal is to force out micro air pockets that you can't see yet but will turn into bubbles later. Go over it three times, not once. The third pass is where it locks in.
4. Peel Slow at a Sharp Angle
This is where most beginners rush. Don't. After burnishing, peel the carrier film back slowly at almost 180 degrees, keeping it flat against the glass surface. If you see any part of the design lifting, lay the film back down and squeegee that spot again.
A slow, low-angle peel lets the adhesive separate cleanly. A fast, high peel creates tension and pulls the edges up. For detailed UV DTF transfers on glass mugs with small text, peel even slower around the fine lines.
Tired of Edges That Lift After Washing? Get High-Tack UV DTF Transfers Built for Glass From Music City DTF.
5. Size Your Design for the Curve
Flat glass and curved glass are not the same job. UV DTF transfers for glass bottles and tumblers have to handle a compound curve. If your design is too large, the film will try to bridge the curve and create tenting.
Keep full-wrap designs under 9.5 inches wide for standard 16oz glass cans. Leave a 0.25-inch gap from the top and bottom edge where the glass curves most sharply. For UV DTF glass cups with tapered sides, split the design into two smaller panels instead of one big sheet. It lasts longer.
6. Match Ink Thickness to Use Case
Thicker isn't always better. UV DTF prints with heavy white ink behind them look opaque and premium, but that thickness makes them stiffer. Stiff transfers don't like curves.
For flat panels like awards or window decals, go for full 100% white backing. For UV DTF transfers for shot glasses or skinny bottles, ask for a 70-80% white layer. You’ll get better flex and adhesion without losing vibrancy. Music City DTF calibrates this based on your blank.
7. Let It Dwell Before You Test It
Adhesion builds over time. The bond you have right after application is only about 60% of its final strength. The acrylic adhesive needs 24 to 72 hours to fully cure onto glass.
Don't wash it, scratch test it, or pack it for a customer immediately. Let it sit at room temperature for at least 24 hours. Real-world wash tests show that prints washed after a 72-hour dwell last 3x longer than those washed within 2 hours. Patience pays.
8. Degrease the Transfer, Not Just the Glass
Here’s a trick pros know. The transfer itself can pick up dust and oil while sitting on your table. Before you peel the backing, wipe the adhesive side quickly? No. Instead, make sure your hands are clean and handle the transfer only by the edges.
If you’re working in a dusty shop, keep the transfers in their original sleeve until the exact moment you apply. A single fingerprint on the adhesive layer will create a permanent fish-eye that won't stick.
9. Control Humidity and Dust in Your Workspace
Humidity above 60% puts an invisible film of moisture on glass. You won't see it, but the adhesive will. Ideal application conditions are 40-50% humidity and 70°F.
If you're in a garage in Florida in July, run a dehumidifier. Also, kill any fans that blow dust. One speck of dust under a clear UV DTF transfers on glass mugs design looks like a crater. Wipe down your work surface with a damp cloth before you start.
10. Use Edge Seal for High-Wash Items
If you're making UV DTF transfers for glass bottles that will go through a dishwasher or be sold to a bar, you need more than just adhesion. You need edge protection. Water gets under the edge of any sticker over time.
A thin, clear epoxy or a UV-resistant clear coat pen applied just around the perimeter of the design can increase wash life from 50 washes to over 200. Don't coat the whole design. Just seal the edge where water can intrude. This is standard for commercial barware.
11. Don't Stretch the Film to Make It Fit
UV DTF film has zero stretch. If you try to pull it to fit a curve or cover a mistake, you are actually thinning the adhesive and creating memory in the film. It will want to pull back.
If it's misaligned by more than 1/16th of an inch, lift and reposition immediately before you squeegee hard. Once you've done your final press, that's it. For UV DTF glass cups with handle gaps, cut a small relief slit in the carrier film, not the design, to let it relax around the handle.
12. Store Your Transfers Right and They Will Perform Right
UV DTF transfers aren't forever in storage. Heat and sunlight degrade the adhesive in weeks. Store them flat, in a cool dark drawer at 65-75°F, with no weight on top.
Avoid stacking more than 20 sheets together. The weight causes blocking where the adhesive starts bonding to the liner below. Fresh transfers within 30 days of printing give you the best tack. We print at Music City DTF on a 24-48 hour turnaround so you aren't getting old stock.
Conclusion
Getting UV DTF transfers on glass to stick isn't about buying the most expensive film. It's about respecting the surface. Glass is non-porous, so it gives the adhesive nothing to grab unless you create the perfect conditions.
Clean twice, warm the blank, squeegee like you mean it, peel low and slow, and let it dwell. Do those five things and your failure rate drops to almost zero. The rest of the tips are how you go from good to professional, from a cup that looks fine on your desk to one that survives a busy coffee shop or bar.
We’ve ruined plenty of film learning this the hard way so you don’t have to. Apply these 12 tips on your next run of UV DTF transfers for shot glasses, bottles, or windows and you’ll feel the difference on the very first press. Music City DTF is here when you need film that actually performs.
Want Transfers That Are Tested for Real Glass, Not Just Mockups? Upload Your Art to Music City DTF and Get UV DTF Prints Made for Mugs, Bottles, and Cups.
FAQs
How Long Do UV DTF Transfers on Glass Last With Daily Use?
With proper prep and a 24-hour cure time, UV DTF transfers on glass last 12-24 months of daily hand-washing. Dishwasher use cuts life to 3-6 months unless edge sealed. UV-cured ink itself is rated for 3+ years outdoors without fading. Music City DTF uses high-tack adhesive tested for barware.
Can You Put UV DTF Stickers on Glass Mugs in the Dishwasher?
You can, but you shouldn't if you want maximum life. Top-rack, no heated dry, and only after a 72-hour dwell. Even then, expect some edge wear after 40-50 cycles. For customers, we always recommend hand wash. UV DTF stickers on glass are water-resistant, not waterproof under high heat.
Why Are My UV DTF Transfers on Glass Mugs Bubbling After a Week?
Bubbling is almost always trapped air or moisture, not bad film. It happens when glass was cold, humid, or not cleaned with 90% IPA. It can also happen if you didn't squeegee hard enough from the center out. Re-squeegee immediately and let dwell longer before washing.
What Is the Best Way to Clean Glass Before Applying UV DTF Glass Cups?
Use 90% or higher isopropyl alcohol and a lint-free microfiber. Wipe in one direction, flip the cloth, wipe again. Let it flash dry for 60 seconds. Don't use Windex, it leaves silicone. For UV DTF glass cups that had price stickers, remove all adhesive residue with IPA first.
Do UV DTF Transfers for Glass Bottles Need Heat to Apply?
No heat press needed. UV DTF transfers for glass bottles are cold-applied pressure-sensitive stickers. You just need firm squeegee pressure and room-temperature glass. Heat can actually warp the film. The only time you use low heat is to warm cold glass to 70°F before application.
Can You Apply UV DTF Transfers for Shot Glasses on Curved Surfaces?
Yes, and shot glasses are easier than tall tumblers because the curve is short. Keep designs under 3 inches wide, squeegee firmly, and peel slowly. For full wraps, use two smaller pieces. UV DTF transfers for shot glasses hold very well because they have less surface area to fail.
What Makes UV DTF Glass Different From Regular Vinyl on Glass?
UV DTF glass prints are UV-cured ink with raised texture and white ink backing, so they are opaque on clear glass and scratch-resistant. Regular vinyl is cut colored plastic. UV DTF has no weeding, prints full color plus white, and the adhesive is stronger for non-porous surfaces.
How Much Does It Cost to Print UV DTF Transfers on Glass?
Market pricing in 2025-2026 is $0.50 to $3.00 per sheet for gang sheets, depending on size. A 22x24 inch gang sheet averages $18-$28. Cost per logo for a 3-inch square is about $0.35-$0.75. Verify on supplier sites, as film and ink costs fluctuate quarterly.
Does Music City DTF Offer Gang Sheets for UV DTF Stickers on Glass?
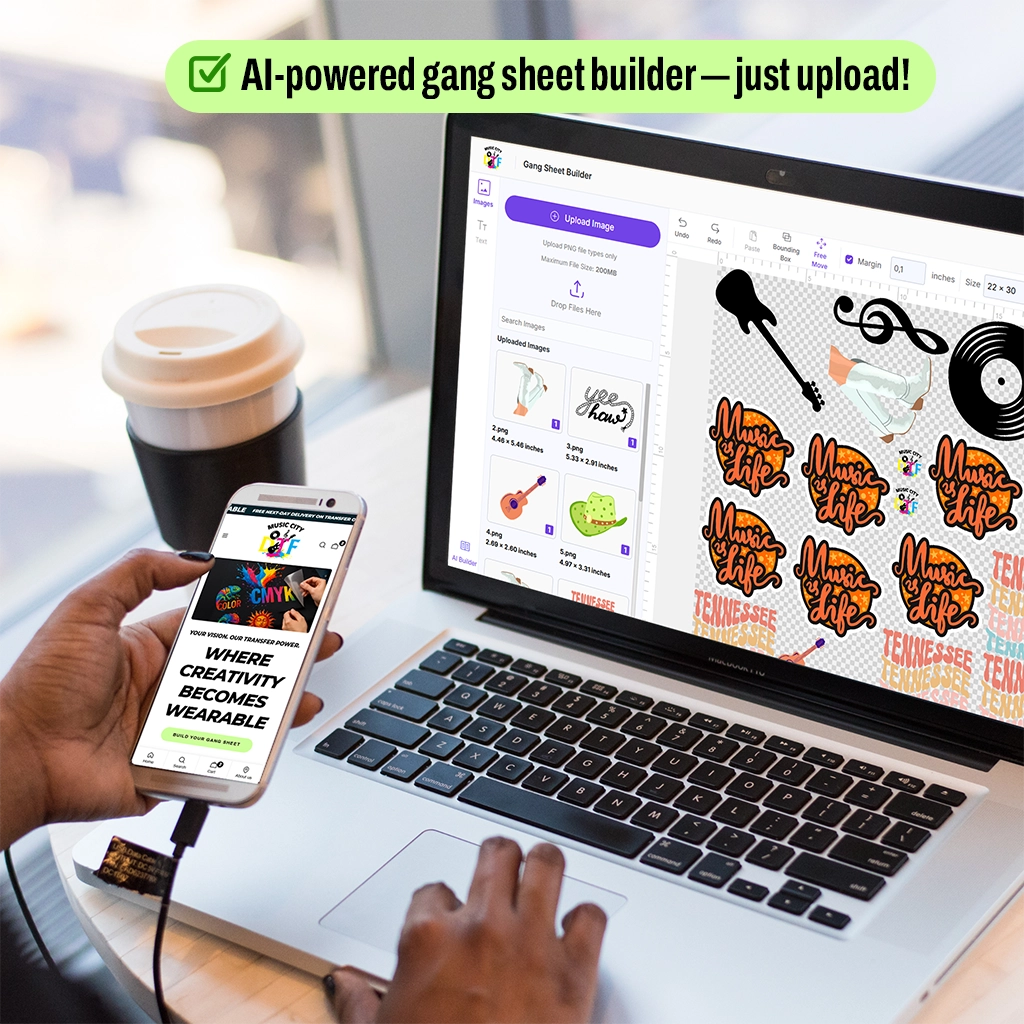
Yes. Music City DTF offers 22x12, 22x24, and custom gang sheets optimized for glass blanks. We adjust white ink density for flat vs. curved glass and ship within 24-48 hours. Upload your sheet and note it's for glass so we set the correct adhesive profile.
Is UV DTF Safe for Drinking Glasses and Food Contact?
The cured print itself is on the outside of the glass and does not touch the beverage. It is considered safe for exterior decoration when applied outside the rim and not inside the cup. Do not apply UV DTF inside the glass or below the rim line where lips touch.