You’ve got a deadline and a stack of designs. Building a DTF Gang Sheet the right way in Illustrator is what keeps your press running and your waste low.
DTF printing gets expensive fast if your file is messy. A gang sheet fixes that. You fit as many designs as possible on one film. That means less waste, faster prints, and lower costs per shirt. In Adobe Illustrator, the setup isn't hard once you know the exact steps.
In this guide, you will learn how to set your document size, arrange artwork with proper spacing, and export it so your printer doesn't reject it. When you set the file up correctly, you save money on every sheet and get faster turnarounds for clients in Music Row and Midtown Nashville.
[ Explore Music City DTF ]
Step-By-Step: How To Create a DTF Gang Sheet In Adobe Illustrator
DTF printing punishes sloppy files. You’ll waste film, burn ink, and get rejects back from the printer. A gang sheet solves that. It’s just one big film with as many designs as you can fit. More prints, less waste, lower cost per shirt.
This works well because most DTF shops run gang sheets the exact same way. And once you’ve done it twice, it takes under 10 minutes. Follow these steps in order. Don’t skip the mirroring part. Follow these steps in order. Don’t skip the mirroring part.
Step 1: Set up your artboard
Open Illustrator and go to File > New. Set Width to 22 in and Height to 24 in. This is the standard film size most shops use. Set Color Mode to CMYK. Set Raster Effects to 300 ppi. Click Create.
Step 2: Place your artwork
Go to File > Place. Select your PNG files with transparent backgrounds. Click Place. Do not use JPGs with white boxes. The printer can’t remove that.
Step 3: Check image resolution
Select each image and look at the top bar. It should say 300 PPI or higher at 100% scale. If it says 72 PPI, your file is too small and will print blurry. Go back and get a higher res version.
Step 4: Convert text to outlines
Select any text. Go to Type > Create Outlines. This keeps fonts from shifting when we open your file.
Step 5: Mirror every design
DTF prints face-down, so your art has to be reversed. Select a design. Go to Object > Transform > Reflect. Choose Vertical and click Copy. Delete the original. Repeat for every design on the sheet.
Step 6: Group each design
Select all parts of one logo and press Ctrl+G. Grouping keeps things from moving when you arrange the sheet.
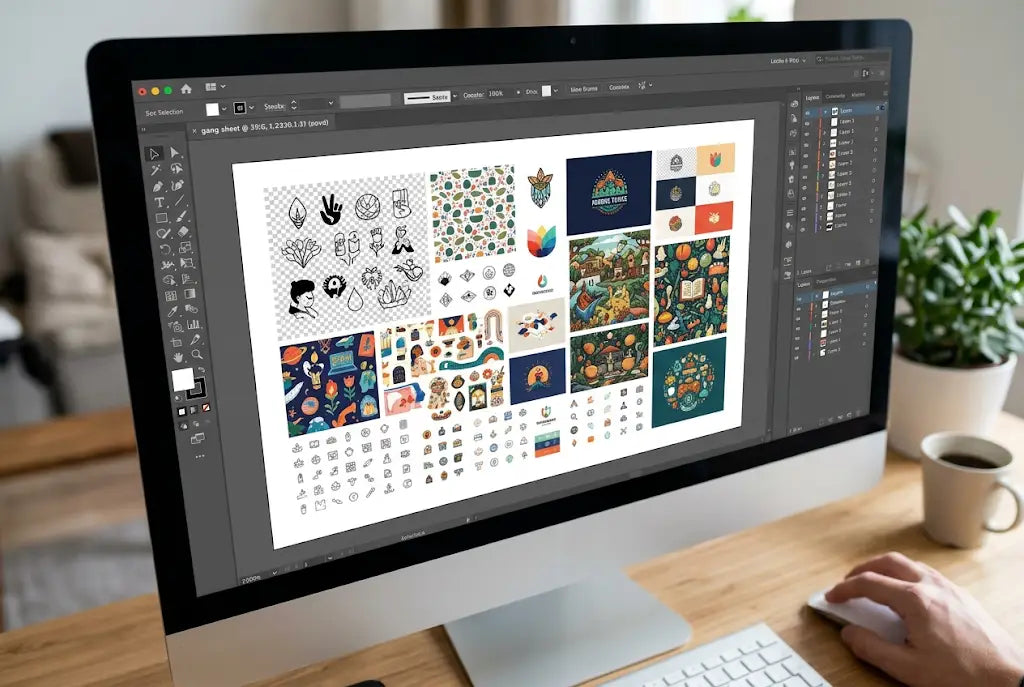
Step 7: Layout your DTF gang sheet
Start with the biggest print. Put it in the center or top. Then fill around it with left chests, sleeve prints, and small logos.
Step 8: Set proper gang sheet spacing
Leave 0.25 inches between each design. Leave a 1 inch margin at the bottom of the artboard. That’s for the printer grippers. Don’t put art there.
Step 9: Final color check
Make sure you’re in CMYK. Rich black should be 40C 30M 30Y 100K. Avoid thin strokes under 1pt. They won’t hold.
Step 10: Export your file
Go to File > Export > Export As. Choose PNG. Click Use Artboards. Set Resolution to 300 ppi. Check Transparent Background. Click Export. Name it clearly like ClientName_22x24_10-15.png.
That’s it. Your file is ready to print.
How To Upload Artwork For DTF To Music City DTF
- Once your file is exported, getting it to us takes 2 minutes.
- Go to musiccitydtf.com and click Upload Artwork. Choose your PNG file. Select your sheet size, 22"x12" or 22"x24". Choose hot peel. That’s all we run because it presses faster and bonds better.
|
Notes on Custom Sheet Sizes: DTF film comes in 22" wide rolls, and you cut it to whatever length you need. That 22" width fits most printers, so the length is where you get flexibility. Short runs like *22"x5"* or *22"x10"* are perfect for samples, left chest logos, and testing new designs. Mid sizes like *22"x20"* to *22"x50"* work great for small batches, kids' shirts, and a few full-front prints. Longer sheets from *22"x60"* to *22"x120"* are for production runs. You can gang dozens of designs and cut cost per print. Huge rolls like *22"x200"* to *22"x300"* are for shops printing all day. You waste less film, change it less often, and keep the printer running. |
- Add your notes in the order comments. Tell us if it’s for dark shirts, light shirts, or both.
- Hit submit. We review every file within 1 hour. If your resolution is low or something isn’t mirrored, we’ll email you before we print.
Standard turnaround is 48 hours. Rush is 24 hours. Shops in Berry Hill and The Gulch use this to hit same-week deadlines without owning a printer.
DTF File Size Guide And Why Resolution Matters
This is where files fail. 300 DPI at actual size is the rule, no exceptions. A 12 inch back print needs to be 3600 pixels wide. A 4 inch left chest needs 1200 pixels. If you design at 72 DPI and scale up later, it’ll look fuzzy on the shirt. And the printer won’t fix it for you. Check before you export.
In Illustrator, go to Window > Links. It shows effective PPI. If it’s under 200, don’t send it. Print it on a test shirt first. Vector logos are best here. They have no DPI limit and stay sharp at any size. But if a client sends you a logo from Instagram, ask for the AI or EPS file. Don’t stretch a small JPG and hope.
We’ve seen shops lose $200 in shirts because they ran a 150 DPI file. It looked fine on screen and terrible on fabric. Check your resolution. Check your links. Do it before you export and you’ll save time, film, and money.
DTF Gang Sheet Layout Tips That Save You Money
Layout is about fitting more without crowding. Put big backs first. Then pack left chests and sleeve hits around them. A 22"x24" sheet can usually fit 1 back, 6 left chests, and 4 sleeves if you’re smart about it.
Rotate designs to use corners. A vertical logo can go sideways and save 2 inches. Keep similar sizes together too. It makes pressing way faster. Your presser won’t be hunting for a 3" logo in a sea of 12" backs.
Good layout gets you about 85% sheet usage. Bad layout gets you 55%. On a $18 sheet, that’s a $5.40 difference every time. Do the math. It adds up fast.
Gang Sheet Spacing That Prevents Cutting Errors
0.25 inches between designs. That’s our standard. A quarter inch gives you room to cut the film without slicing into ink. It also stops adhesive from bridging between designs.
Add a 1 inch bottom margin. Every time. Skip it and the gripper will eat the bottom row. Don’t add bleed either. DTF isn’t vinyl. We print the exact shape, so extra bleed just wastes space.
Shops in Brentwood and Franklin who follow this see about 15% less waste per month. Less trash, fewer reprints, cleaner cuts.
DTF Graphics Setup For Dark And Light Shirts
DTF prints on both because of the white underbase. For dark shirts, keep your art solid. Thin script and tiny details can disappear under the white. Bump the stroke weight if you have to.
For light shirts you’ve got more freedom. You can use finer detail and lighter colors. The white still lays down, but it’s less noticeable so it won’t look heavy.
Press them the same. 305°F for 12 seconds, hot peel, then 5 seconds with a teflon sheet. And always test one shirt first. Wash it. See how it holds before you run the whole order.
Why Hot Peel Works Better For Nashville Shops
We only print hot peel at Music City DTF. You press, you peel while it’s warm, you’re done. No waiting around.
Cold peel makes you wait 30 seconds per shirt. On 200 shirts that’s 1.5 hours gone. Hot peel also sticks better on poly blends. That matters for athletic wear in Antioch and Mount Juliet.
It’s faster, cleaner, and it just works on the floor. Less downtime, fewer issues, happier customers.
Conclusion
Getting your DTF gang sheet right in Illustrator saves you time, film, and money. Set your document to the exact print size first. Keep artwork in CMYK, outline fonts, and leave at least 0.25" between each design so nothing bleeds together. Check spacing, mirror if needed, and export as a high-res PDF. Do that and your printer won’t kick the file back.
But the real win is consistency. Once you build this workflow, you can batch 20 designs in the space that used to fit 5. Less waste. Faster turnarounds. Cleaner transfers. And you’ll stop dreading the setup.
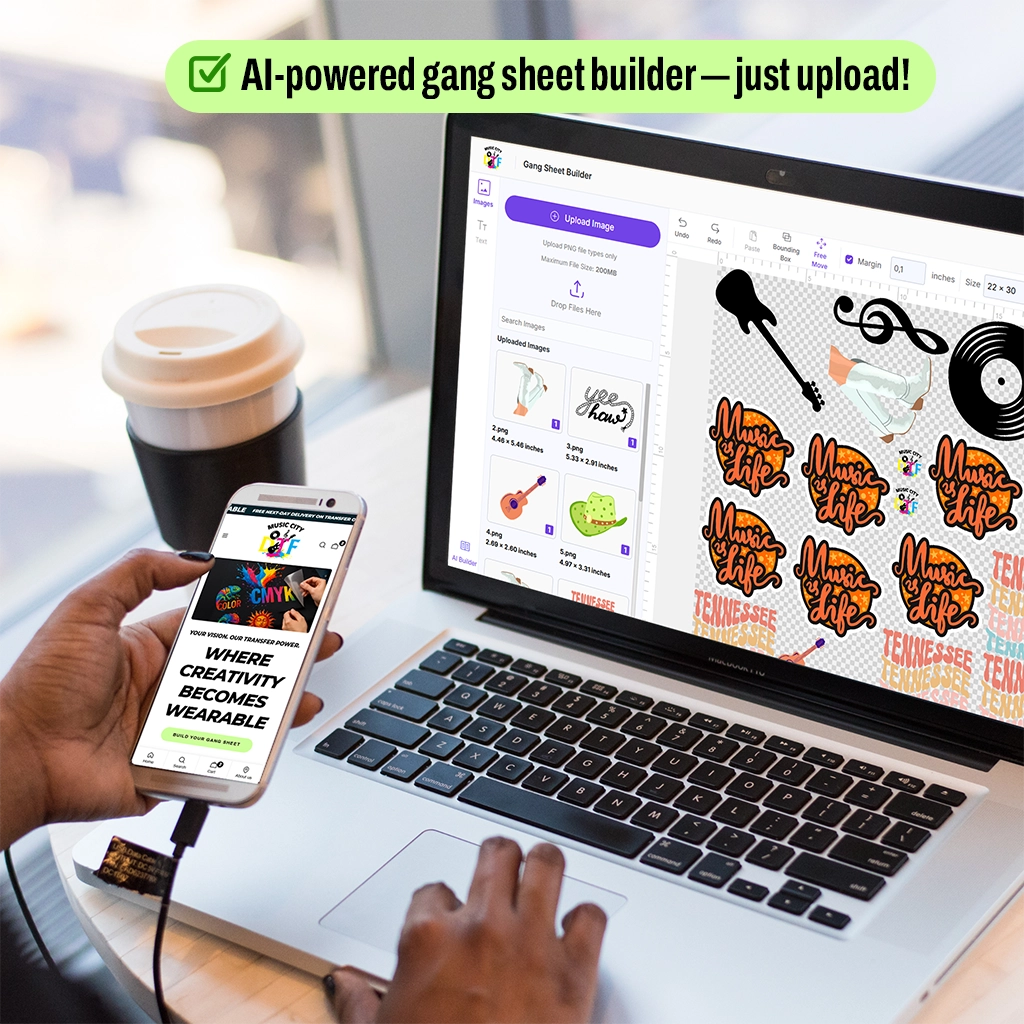
Want to build a gang sheet with your custom ready-to-print file? Upload your custom file on Music City DTF and start printing right away!
Frequently Asked Questions
What Is a DTF Gang Sheet
A DTF Gang Sheet is a sheet of PET film with multiple designs printed on it. You heat press each design onto a shirt and peel the film while it’s hot. It lets you print many graphics at once and saves time and film.
How Do I Create a DTF Gang Sheet In Adobe Illustrator
Make a 22x24 artboard in CMYK. Place 300 DPI PNGs. Mirror each design. Group them. Space them 0.25 inches apart. Leave a 1 inch bottom margin. Export as PNG with transparent background. Then upload to your printer.
What Is The DTF File Size Guide I Should Follow
Use 300 DPI at final print size. A 10 inch design needs 3000 pixels. Check effective PPI in Illustrator’s Links panel. Vector art is best. Low-res files print blurry and waste shirts.
How Much Gang Sheet Spacing Do I Need
Leave 0.25 inches between each design. Leave 1 inch at the bottom for printer grips. Don’t add bleed. Proper spacing prevents cutting into ink and reduces film waste.
Can I Upload Artwork For DTF To Music City DTF
Yes. Go to musiccitydtf.com and use the upload portal. Select your PNG, choose sheet size and hot peel. We review files within 1 hour. Standard print time is 48 hours. Rush is 24 hours.
What DTF Image Resolution Is Required
300 DPI at actual size. If your art is 4 inches wide, it needs to be 1200 pixels. Check in Illustrator before exporting. Low resolution causes fuzzy prints and customer complaints.
Should I Use Hot Peel Or Cold Peel For DTF
Use hot peel. You press for 12 seconds at 305F and peel immediately. It’s faster and bonds better. Cold peel makes you wait and often lifts on blends. All Music City DTF sheets are hot peel.
How Do I Layout a DTF Gang Sheet For Best Results
Start with largest designs. Fill gaps with smaller ones. Rotate to fit corners. Keep 0.25 inch spacing. Group similar sizes. This gets you 80%+ sheet usage and lowers your cost per print.
What Are Common Mistakes In DTF Graphics Setup
Not mirroring, using RGB, low resolution, putting art in the bottom margin, and not outlining fonts. These cause color shifts and cut-offs. Always do a test press before running the full job.
How Fast Can Music City DTF Print My DTF Gang Sheet
Standard is 48 hours. Rush is 24 hours. We print in Nashville and ship to shops in Hendersonville, Murfreesboro, and all over Middle Tennessee. Upload before 2pm to make the next production run.
Author Bio
We’ve prepared thousands of files, fixed costly mistakes, and coached screen printers, clothing brands, and embroidery businesses through setup. This step-by-step guide for custom DTF gang sheet file setup in Adobe Illustrator shares exactly what works on press, so you waste less film, press faster, and get professional results every time.
Build your file in Illustrator using the steps above, then upload your prepared file to Music City DTF. We’ll print it, cure it, and ship it so you can get back to what you do best: pressing shirts and getting paid.