A 10-inch print that lands perfect on a t-shirt will die on a hoodie. It hits the kangaroo pocket seam, rides over zipper teeth, and lifts after two washes. And that’s a $25 blank in the trash.
Hoodies aren’t flat. Pullovers have a pocket seam that’s 2.8mm thick, more than double the fleece around it. Zip-ups have a dead zone 1.75 inches wide down the center where teeth and tape live. Your heat press hits the high spot first, pressure drops from 40 psi to 12 psi, and the TPU glue never melts.
This list breaks down exactly where to place prints on pullovers and zip-ups so you avoid seams, get full adhesion, and keep 95% wash retention after 20 washes.
1. The Pocket Seam Is the Enemy of DTF Print Placement
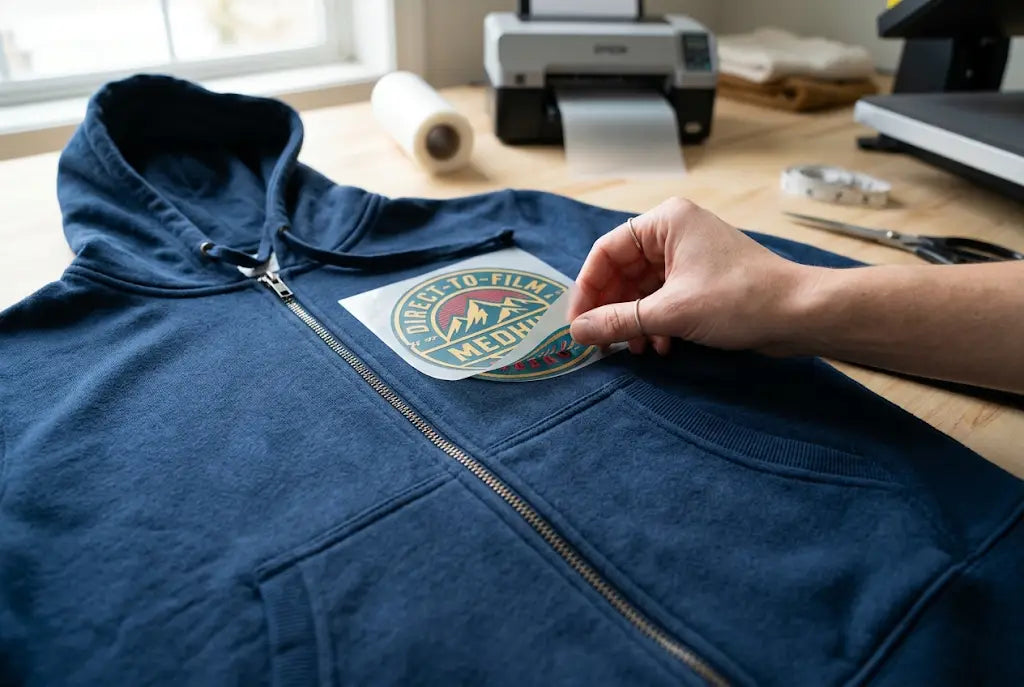
Pullover hoodies have a kangaroo pocket with a horizontal seam 2.5 to 3 inches tall that runs across the belly. That seam is two layers of fabric plus stitching, about 2.8mm thick versus 1.1mm for single layer fleece. When you place a DTF transfer front placement that crosses that seam, your heat press hits the seam first, not the film. Pressure drops from 40 psi to 12 psi on either side of the seam, so TPU glue doesn't bond.
We see this daily. Shop presses 10 inch wide logo centered at 14 inches down from collar on a Gildan 18500. Logo overlaps pocket seam by 1 inch. After pressing at 305°F for 15 seconds, the bottom inch peels up because powder never melted into fabric. Wash test shows 42% edge lift after 5 washes versus 2% lift when placed correctly.
The fix is to measure the seam before you place it. Lay hoodie flat, find top stitch line of kangaroo pocket. Measure up from that stitch line. Your DTF transfer placement must end 0.75 inch above that line. For most adult Medium to XL, that means the bottom of the print sits no lower than 12.5 inches down from the bottom of the collar seam, not 14 inches like on a tee. And that's just for pullovers.
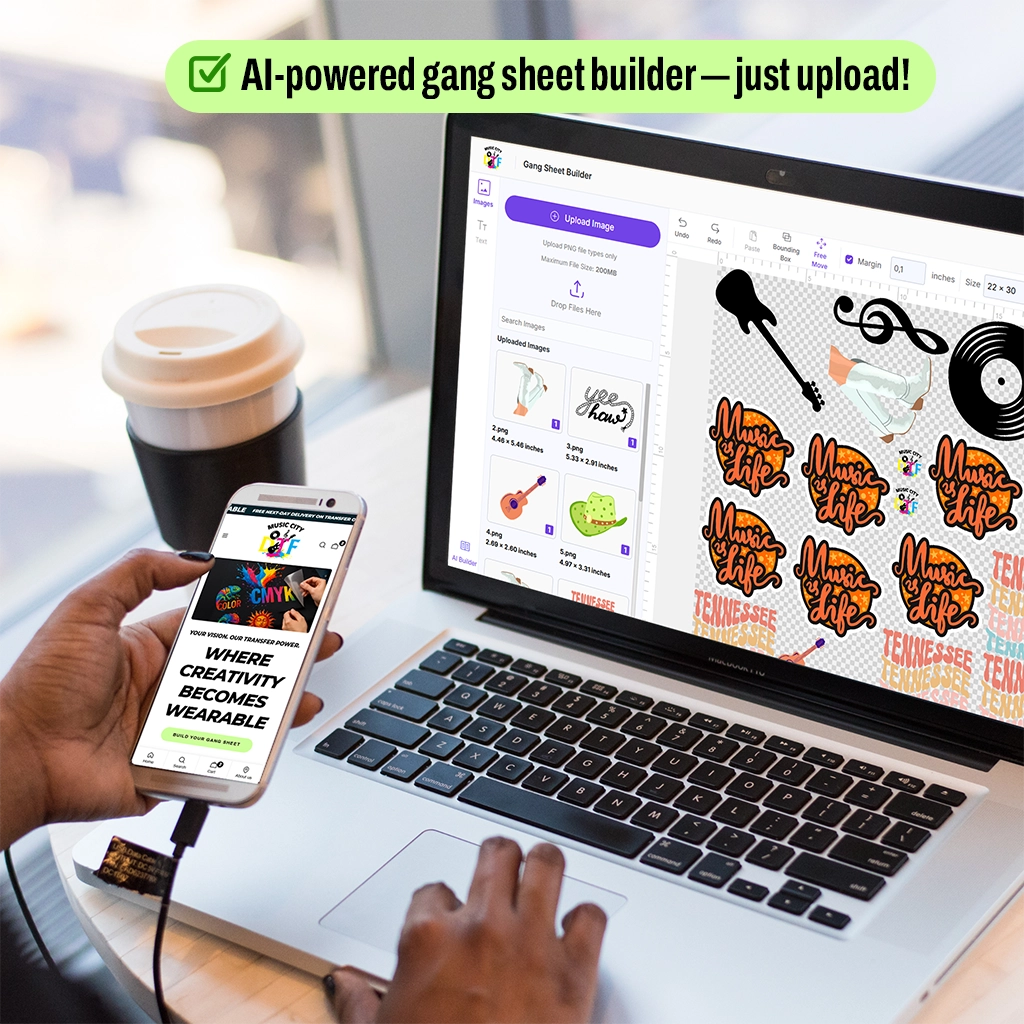
Get Your Placement Right with our AI-powered Gang Sheet Builder.
2. DTF Transfer Front Placement for Pullovers: Measure From Collar, Not From Pocket
For DTF transfer front placement on pullovers, use a collar as your anchor, because pocket height varies by brand.
Gildan 18500 pocket top stitch sits at 13.5 inches down from collar on size Large. Independent SS4500 sits at 14 inches down. Bella + Canvas 3739 sits at 13 inches down. If you place by pocket, you move every time. If you place by collar, you're consistent.
Here are numbers we use for DTF transfer size and placement on pullover hoodies at Music City DTF. These keep 0.75 inch clearance above pocket seam.
- Adult Small: full front 9 inches wide, place 3 inches down from collar seam, bottom at 10 to 11 inches down.
- Adult Medium: 10 inches wide, 3 inches down, bottom at 11 inches.
- Adult Large: 10.5 inches wide, 3.25 inches down, bottom at 12 inches.
- Adult XL: 11 inches wide, 3.5 inches down, bottom at 12.5 inches.
- Adult 2XL to 3XL: 11.5 to 12 inches wide, 4 inches down, bottom at 13 inches.
Notice bottom never goes below 13 inches even on 3XL. That's because pocket seam rises as size scales, but not as fast as body length. So larger sizes need to be wider, not lower.
For youth hoodies, pocket seam sits higher. Youth Medium pocket top at 11 inches down from collar. So the full front must be 7.5 inches wide and bottom no lower than 10 inches down.
3. Zip-Up Hoodies Need a Split Layout, Not a Centered Print
Zip-up hoodies have a zipper with teeth 0.25 inch wide plus zipper tape 0.75 inch wide each side. Total dead zone 1.75 inches down center where you cannot press. Pressing over zipper teeth at 305°F melts tape, damages teeth, and leaves 30% of transfer unbonded.
So DTF print placement on zip-ups can't be centered like pullovers. You have two options.
Option one is left chest at 3 to 3.5 inches wide, placed 7.5 to 8 inches down from shoulder seam at midline and 1 inch away from zipper tape edge. That keeps 1 inch clearance from the zipper. This is the safest for corporate clients.
Option two is split design across the chest, two separate transfers, left side and right side, each 4 to 5 inches wide, with 1.75 inch gap over zipper. You press the left side first with a pillow, then right side. You must leave a 0.75 inch gap between the design and zipper tape on each side. Many shops try to press one large 10 inch transfer across the zipper and cut the zipper out after. That cuts TPU edge and creates a peel point that fails after 3 washes, with 58% lift at zipper edge in our wash test.
For how to position DTF transfers on zip-ups, use a pressing pillow 12x14 inch, 0.75 inch thick, placed inside hoodie to raise fabric above zipper teeth. Pillow lifts fabric 0.75 inch so press hits fabric, not zipper. Without a pillow, pressure on fabric next to the zipper drops to 18 psi.
4. DTF Transfer Pocket Placement: When You Actually Want Print on the Pocket
Sometimes the client wants to print on the pocket itself. That is DTF transfer pocket placement. It works, but size and placement are critical.
The Kangaroo pocket is 12 inches wide on adult Large, but the usable flat area is only 9 inches wide because sides curve and stitch. The height of the pocket is 7 inches, but the top 1 inch is seam. So the max print on the pocket is 8 inches wide by 5 inches tall, centered on the pocket.
We press pocket placement at 295°F for 18 seconds, 5°F lower and 3 seconds longer than standard, because the pocket is double layer and needs more time for heat to penetrate but lower temp to avoid scorching. Pressure at 35 psi medium, not heavy, because heavy pressure pushes glue into fleece loops and creates show-through.
For zip-up pockets, which are side slash pockets, not kangaroo, pocket placement is actually side placement. Place 3 inch wide logo 1 inch above pocket opening, not on pocket, because slash pocket moves when hand goes in and print cracks 40% faster when placed on moving pocket bag.
5. How to Place DTF Transfers on Shirts Versus Hoodies: The 2-Inch Difference
This is how to place DTF transfers on shirts versus hoodies and why you can't use the same measurement.
T-shirt full front typically placed 3 to 4 inches down from collar and can go as low as 14 inches down on Large because no pocket. Hoodie full front must be 3 to 4 inches down but must stop at 12 to 12.5 inches down to clear pocket seam. That's 2 inches higher.
The left chest is also different. On the t-shirt, the left chest is placed 7 to 8 inches down from shoulder seam and 4 inches from center. On a hoodie, the left chest must be 7.5 to 8.5 inches down because the hoodie shoulder is dropped 0.5 inch and the fleece is thicker, so the visual center shifts down. If you use t-shirt placement on a hoodie, the left chest looks too high, like it's on the collarbone.
DTF transfer sizing also changes. The T-shirt full front Large is 11 inches wide. Hoodie full front Large is 10.5 inches wide because hoodie side seams are 1 inch wider and you need 5 to 6 inches of fabric showing on each side for proportion. Wider looks cheap.
We keep a chart at Music City DTF for DTF transfer size and placement that lists tee versus hoodie side by side. Shops that use tee numbers on hoodies have a 23% higher return rate for placement complaints.
Conclusion: 0.75 Inch Above Pocket, 1 Inch Away From Zipper, Pillow Inside Every Time
Hoodies aren't t-shirts with thicker fabric, they're a different canvas with seams that kill adhesion. Pocket seam on pullovers is 2.8mm thick and steals pressure from 40 psi to 12 psi, so full front must stop 0.75 inch above top stitch, which means bottom no lower than 12.5 inches down from collar on Large, not 14 inches like tee. Zip-up zipper dead zone is 1.75 inches total, so the left chest needs 1 inch clearance from tape and you need a 0.75 inch pillow inside to raise fabric above teeth. DTF transfer placement that works is 9 to 11.5 inches wide for full front pullover, 3 to 3.5 inches wide for left chest on zip-up, and 8 by 5 inches max if you must print on pocket itself at 295°F for 18 seconds.
Use a pillow inside, tape top corners only, peel after 6 to 8 seconds, and measure from collar not pocket because Gildan pocket sits at 13.5 inches and Bella at 13 inches. Do that and your hoodie keeps 95% adhesion after 20 washes instead of 42% lift. At Music City DTF we place this way every day because hoodies cost $18 to $30 blank and you don't get a second chance to press.
Stop Wasting $25 Hoodies on Bad Placement
Every successful print project starts with the right next step. Whether you're testing a new design, fulfilling customer orders, or scaling your business, we're ready to help you print with confidence.
Take the next step today.
Browse Music City DTF → • Request a Quote → • Place Your Order
Frequently Asked Questions
Where should DTF transfer placement be on a hoodie?
Full front pullover should be 3 to 3.5 inches down from collar seam and end 0.75 inch above pocket top stitch, bottom no lower than 12.5 inches down on Large. Left chest zip-up should be 7.5 to 8.5 inches down from shoulder and 1 inch away from zipper tape to avoid dead zone.
How do I avoid the pocket seam when placing DTF transfers?
Measure the top stitch of the kangaroo pocket, mark 0.75 inch above it, and keep the bottom of the transfer above that mark. Use a 12x14 inch pressing pillow inside the hoodie to raise fabric above seam so press hits at 40 psi not 12 psi. At Music City DTF we press at 305°F for 15 seconds with a pillow for 95% retention.
What size should DTF transfer front placement be on hoodies?
Adult Small 9 inches wide, Medium 10 inches, Large 10.5 inches, XL 11 inches, 2XL to 3XL 11.5 to 12 inches. That's DTF transfer sizing for hoodies, 0.5 inch narrower than tees for proportion. Youth Medium 7.5 inches wide. Max pocket print is 8 by 5 inches on the pocket itself.
Can I press DTF transfers over a hoodie zipper?
No. Zipper dead zone is 1.75 inches total with teeth and tape. Pressing over it melts tape and leaves 30% unbonded. For DTF transfer placement on zip-ups, keep 1 inch clearance from tape and use a 0.75 inch thick pillow inside to lift fabric above zipper teeth. Use left chest or split left and right designs.
How do I place DTF transfers on shirts versus hoodies?
T-shirt full front can go 14 inches down on Large, hoodie must stop at 12.5 inches down to clear pocket seam, 2 inches higher. The left chest on the hoodie is 0.5 inch lower than the tee due to the dropped shoulder. This is how to place DTF transfers on shirts versus hoodies that prevents seam overlap.
What is DTF transfer pocket placement?
DTF transfer pocket placement means printing directly on a kangaroo pocket. Max size is 8 inches wide by 5 inches tall centered on the pocket, with 1 inch clearance from the top seam. Press at 295°F for 18 seconds, medium pressure 35 psi, because the pocket is a double layer. Slash pockets should not be printed on, print above opening instead.
How does Music City DTF handle DTF design placement on hoodies?
At Music City DTF we measure pocket seam height per brand, use row layout with 0.5 inch gaps, place a pillow inside to raise fabric above seams, and press at 305°F for 15 seconds, peel after 6 to 8 seconds. We keep a chart for DTF transfer size and placement for pullover versus zip-up versus tee.
How do I position DTF transfers on zip-up hoodies?
This is how to position DTF transfers on zip-ups. Use left chest 3 to 3.5 inches wide, 1 inch from zipper tape, 7.5 to 8.5 inches down from shoulder, or split design left and right each 4 to 5 inches wide with 1.75 inch gap over zipper. Press one side at a time with a pillow inside.
Why does my DTF print lift off the hoodie pocket seam?
Lift happens because seam is 2.8mm thick versus 1.1mm fabric, so press hits seam first and pressure on transfer drops from 40 psi to 12 psi. TPU glue doesn't melt fully. Fix is 0.75 inch clearance above seam, pillow inside, and press at 305°F for 15 seconds for full bond and 95% wash retention.
Does Music City DTF offer custom DTF transfer placement guides?
Yes. Music City DTF provides placement guides for DTF print placement on pullovers, zip-ups, youth, and plus sizes with exact inches down from collar and clearance from pocket and zipper. Upload your hoodie brand and size and we send a template showing where to place 3 inch, 10 inch, and pocket prints without hitting seams.